


As solar energy gains popularity, understanding how to optimize your solar system becomes crucial. A solar monitoring system is your key to tracking performance and ensuring your investment pays off. With real-time data on energy production and consumption, you can identify issues before they escalate, maximizing efficiency and savings.
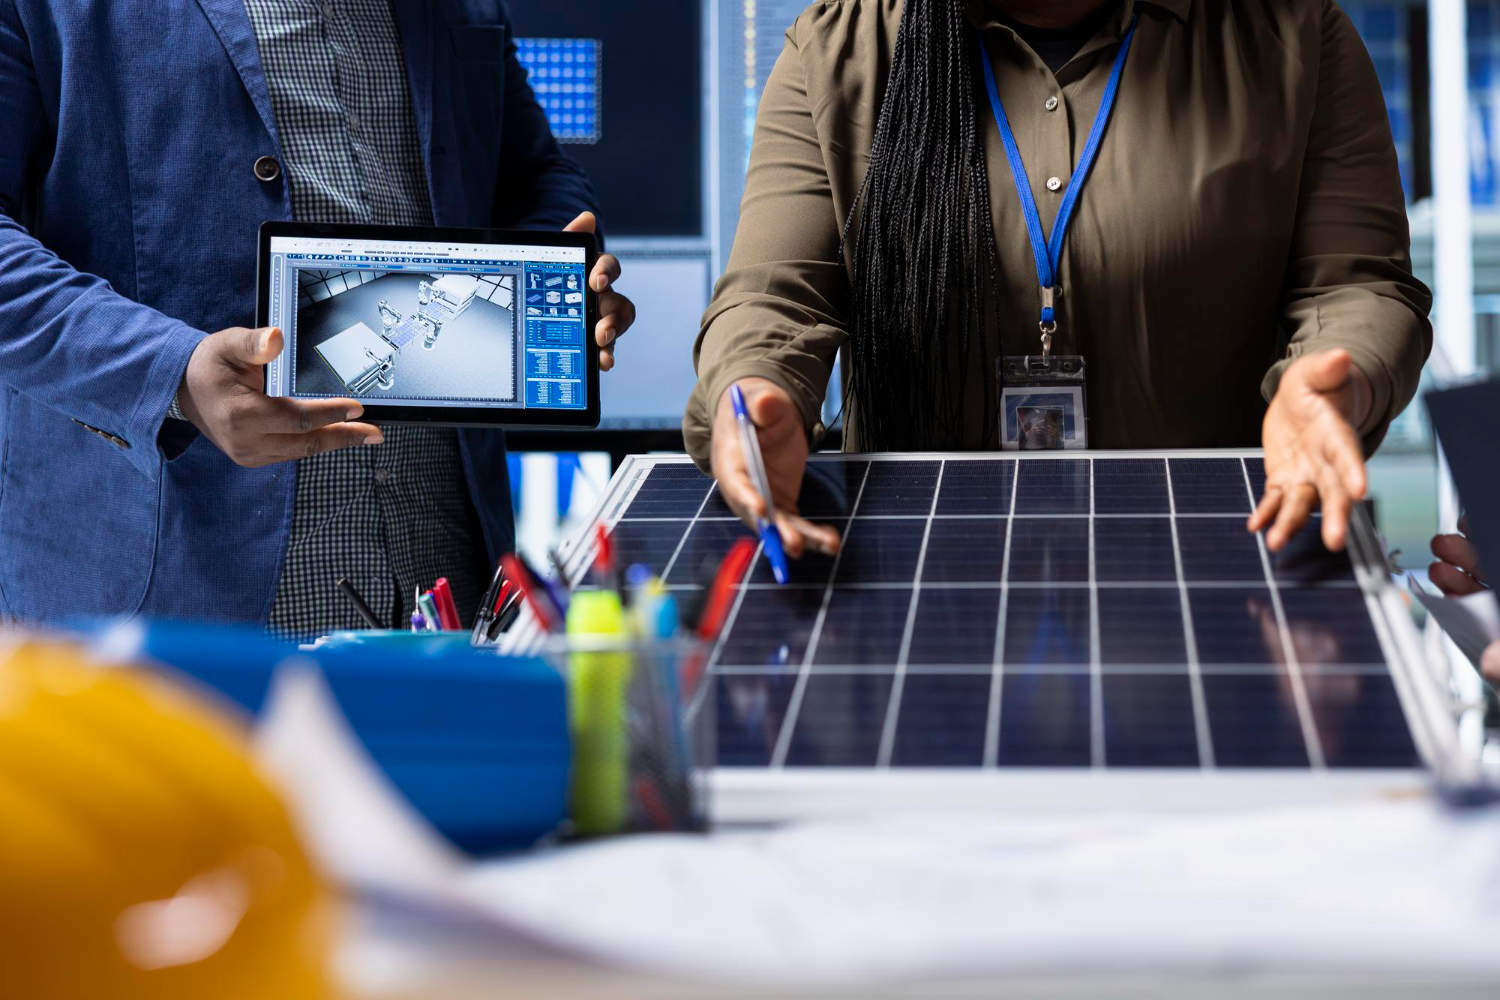
When considering solar monitoring system installation services, you want a partner who knows the ins and outs of the technology. The right installation not only enhances your system’s performance but also provides peace of mind. You’ll gain insights that help you make informed decisions about energy usage and maintenance.
Choosing professional installation services means you’ll benefit from expert guidance tailored to your unique setup. Whether you’re a homeowner or a business, investing in a solar monitoring system can elevate your energy management strategy and lead to significant long-term benefits.
Benefits of Solar Monitoring Systems
Solar monitoring systems provide substantial advantages for energy users. These benefits include enhanced energy management, early detection of issues, and increased efficiency and savings, making them essential tools for effective solar energy usage.
Improved Energy Management
Improved energy management occurs through real-time tracking of solar production and consumption. By accessing data via user-friendly apps or online dashboards, you view performance metrics for your solar system. Understanding trends in energy generation and usage enables you to make informed decisions.
You utilize this data to adjust energy habits, such as running appliances during peak solar production hours. You improve energy efficiency by shifting high-consumption tasks to sunny times. Enhanced management also supports better financial planning, allowing you to estimate savings and investment returns accurately.
By comparing data generation against electricity usage, potential inefficiencies come to light, highlighting areas for adjustment or upgrade. Improved energy management cultivates a sustainable lifestyle while maximizing the value of your solar installation.
Early Detection of Issues
Early detection of issues becomes a significant benefit of solar monitoring systems. Consistent monitoring identifies performance drops or irregularities, providing alerts when the system operates below optimal levels. Immediate awareness of these issues facilitates timely interventions.
You can pinpoint the source of problems, whether a malfunctioning inverter or shading from nearby trees. Addressing issues at an early stage protects your investment and prevents costly repairs down the line. Early detection also ensures uninterrupted energy supply, so you experience minimal disruption to your energy needs.
Regular performance checks, facilitated by solar monitoring, aid in maintaining system health. By staying proactive about performance, you enjoy peace of mind, knowing that your solar system operates efficiently and reliably.
Increased Efficiency and Savings
Increased efficiency and savings are crucial benefits of solar monitoring systems. By optimizing how and when you use energy, you leverage the full potential of your solar panel setup. The ability to monitor real-time performance allows you to adapt your energy usage patterns for more effective savings.
Understanding peak production times lets you schedule energy-intensive tasks accordingly. This habit reduces reliance on grid energy, leading to lower utility bills. Additionally, tracking energy savings over time helps confirm if your solar investment meets expectations, providing clear evidence of financial benefits.
Furthermore, systems with monitoring capabilities can reveal opportunities for expansion or upgrades. If you consistently experience high energy demands, knowing when to add more panels or battery storage becomes easier. Overall, efficient energy management translates to significant savings and optimized performance for your solar energy system.
Choosing the Right Solar Monitoring System
Selecting the right solar monitoring system involves understanding various options and considerations that fit your specific needs.
Types of Monitoring Systems Available
- String Inverter Monitoring: This type connects to multiple solar panels in a series. It tracks performance as a group rather than individually. This system suits smaller installations that prioritize low cost but may not identify issues at the panel level.
- Microinverter Monitoring: Microinverters attach to each panel individually. This setup provides real-time data from each panel, maximizing efficiency and allowing precise issue identification. Ideal for larger arrays or areas with shading, microinverters offer better performance monitoring.
- DC Optimizer Monitoring: DC optimizers work similarly to microinverters but are installed on each panel while connecting to a centralized inverter. This option enhances energy production and keeps track of performance, making it a great middle ground between string inverters and microinverters.
- Professional Monitoring Services: Many companies offer external monitoring services, enabling remote data access. This can include alerts for performance drops and system maintenance reminders. This option is suited for those seeking minimal hands-on management.
- Apps and Software: Many systems come with mobile apps that allow you to monitor your solar energy production and usage in real-time. These tools often provide easy-to-read graphs and statistics, making them suitable for tech-savvy users who want to stay informed.
Factors to Consider During Selection
- System Size: Determine your energy production needs. Larger systems typically benefit from microinverter or optimizer setups. Smaller systems may find string inverters adequately meet their requirements.
- Cost: Compare the initial investment against the long-term savings. Microinverters typically cost more upfront but can yield higher savings over time due to improved efficiency.
- Installation Environment: Assess local conditions. Shaded or complex roof shapes may benefit more from microinverters or DC optimizers to ensure maximum output from each panel.
- User Experience: Evaluate the ease of use for monitoring apps and interfaces. User-friendly systems allow for better engagement and understanding of your energy use.
- Support and Maintenance: Consider the level of customer support offered by the monitoring system provider. Reliable support can enhance your overall experience, especially if issues arise.
- Integration Capabilities: Ensure compatibility with other home automation systems if applicable. Some systems allow integration with smart home platforms for enhanced control and efficiency.
Choosing the right solar monitoring system requires careful evaluation of your specific needs, budget, and technical preferences.
Preparing for Installation
Preparation significantly impacts the successful installation of your solar monitoring system. Focus on gathering the necessary materials, tools, and completing a thorough site assessment.
Materials Needed
Gather essential materials before installation. Ensure you have the following items on hand:
- Solar Monitoring Device: Select a monitoring system appropriate for your solar setup, such as a string inverter monitoring or microinverter monitoring unit.
- Mounting Hardware: Secure brackets, screws, and anchors that support the monitoring device installation.
- Wiring: Use appropriate gauge wiring for connecting the monitoring system to the solar panels and inverter.
- Power Supply: Ensure you have the correct voltage adapters or batteries for the monitoring device.
- Safety Gear: Acquire gloves, goggles, and any other personal protective equipment required during the installation process.
- Sealants: Use weatherproof sealants to protect wiring and devices from moisture exposure.
These materials blend with your solar monitoring system and installation environment, contributing to a successful setup.
Tools Required
Use the right tools to facilitate a smooth installation process. Obtain the following tools:
- Drill: Employ a power drill to create holes for mounting hardware.
- Screwdriver Set: Use both flathead and Phillips screwdrivers for securing components.
- Wire Strippers: Utilize wire strippers for preparing wiring connections.
- Multimeter: Check voltage levels and ensure the system operates correctly after installation.
- Ladder: Use a sturdy ladder to safely access high areas for installation.
- Measuring Tape: Ensure proper spacing and placement of components.
- Level: Achieve accurate alignment of the installation components.
Having these tools ready streamlines the installation process and ensures accuracy.
Site Assessment and Preparation
Conducting a site assessment before installation prepares your solar monitoring system for optimal performance. Follow these steps:
- Evaluate Solar Panel Location: Analyze the location of your solar panels and assess any obstructions that might affect sunlight exposure, such as trees or buildings.
- Determine Accessibility: Ensure easy access to the monitoring system for maintenance and troubleshooting.
- Check Roof Conditions: Inspect the roof or installation surface for structural integrity and suitability for mounting hardware.
- Locate Electrical Connections: Identify points for integrating the monitoring system with existing wiring and inverters.
- Plan for Data Transmission: Decide on Wi-Fi connection or cellular network availability for monitoring data transmission.
A thorough site assessment lays the groundwork for a successful and efficient installation of your solar monitoring system.
Installation Process
The installation process for solar monitoring systems involves several key steps to ensure functionality and reliability. Each step requires attention to detail for optimal performance.
Step 1: Installing the Monitoring Hardware
Begin by selecting a suitable location for the monitoring hardware. Choose an area that provides easy access to the solar panels and the power supply. Mount the monitoring device using the provided hardware, ensuring it is secure and stable. Use a level to check alignment. Connect the mounting brackets as specified in the installation instructions to prevent damage. Install the device at an appropriate height for future maintenance. After securing the hardware, run the necessary wiring to the designated connection points. Clean any debris and ensure the area around the installation remains tidy. This step sets the foundation for effective monitoring and must be conducted correctly to avoid future complications.
Step 2: Connecting to the Solar Power System
Next, establish a connection between the monitoring hardware and the solar power system. Identify the appropriate connection points based on the specifications of your solar inverter. Strip the wire ends and attach them securely to the inverter terminals using the necessary tools. Use wire connectors to ensure a solid connection and prevent weather-related issues. Ensure that all connections meet safety standards to reduce the risk of shorts or failures. Once connected, verify that the wiring is organized to avoid tripping hazards. This connection allows the monitoring system to receive and transmit data efficiently, which is crucial for real-time monitoring.
Step 3: Configuring Software Settings
After setting up the hardware and making the necessary connections, move on to configuring the software settings. Use the manufacturer’s application or online platform to set up your monitoring device. Input details such as location, system size, and type of installation. Connect the monitoring device to your Wi-Fi network to facilitate remote monitoring. Follow the on-screen instructions to link the device to your smartphone or computer for easy access. Customize alerts and notifications according to your preferences, allowing you to stay informed of system performance. Testing these settings ensures that data is transmitted accurately and promptly.
Step 4: Testing the System
With everything established, conduct a thorough test of the complete system. Check for power to the monitoring device and validate that it is receiving data from the solar panels. Review the application or software interface to ensure all readings appear correctly. Monitor for any alerts or error messages that could indicate issues. If discrepancies arise, revisit the connections and software settings for adjustments. Run a performance test by observing the system’s reaction to changes in solar generation throughout the day. This final step confirms that the system operates as intended, and proper adjustments can be made prior to regular monitoring.
Helpful Tips for a Successful Installation
When installing a solar monitoring system, following specific tips can improve the overall process and ensure optimal performance.
Best Practices for Seamless Integration
- Evaluate your system requirements: Understand your solar setup and energy needs before selecting a monitoring solution. Assess the size and type of the solar array and any existing components.
- Choose compatible hardware: Ensure all components, such as inverters and monitoring devices, integrate smoothly. Verify compatibility with your solar power system for streamlined installation and function.
- Conduct a thorough site assessment: Analyze the installation area for potential obstacles like shade or structural issues. Clear any debris, and ensure a stable surface for mounting equipment.
- Utilize professional support: Engage with experts who have experience in solar monitoring installations. Expert guidance aids in accurate setup and improves system reliability.
- Follow installation guidelines strictly: Adhere to manufacturer instructions for each piece of equipment. Checking technical specifications can prevent common mistakes and ensure optimal operation.
Common Mistakes to Avoid
- Disregarding electrical safety: Prioritize safety measures during installation. Turn off the solar system and follow proper protocols to avoid electrical hazards.
- Neglecting cable management: Poor cable management may cause signal interference or damage. Secure cables neatly and away from moving parts to ensure a reliable connection.
- Overlooking software configuration: Properly set up the monitoring software to ensure data accuracy. Follow the initial setup steps carefully, as this process affects real-time monitoring.
- Skipping system testing: After installation, perform thorough testing of the monitoring components. Confirm that data transmission occurs correctly and that notifications function as intended.
- Ignoring manufacturer support: If issues arise, contact the manufacturer for support. Utilizing available resources can help address problems quickly, ensuring system functionality and performance.
Troubleshooting Common Issues
When installing or using a solar monitoring system, minor issues may arise that disrupt functionality. Identifying and resolving these problems quickly ensures optimal operation.
No Data Receiving from the Monitor
No data from the monitor occurs due to several possible issues. First, ensure that the device is powered on. Check the power source and connections to verify that everything is set up correctly. Next, inspect the communication cables for any damage that may interrupt data flow. If cables appear intact, the software may require an update. Visit the manufacturer’s website for the latest software version and installation instructions.
If issues persist, check the monitor’s positioning. Obstructions can hinder signal reception, especially in wireless models. Moving the unit closer to the solar array may improve results. Lastly, consult the user manual for troubleshooting guidance specific to your system. If all else fails, contacting customer support can provide further assistance.
Connectivity Problems with the App
Connectivity Problems with the App can hinder your ability to monitor solar performance. Start by ensuring the device and phone are on the same Wi-Fi network. If not, reconnect to the correct network. Verify that the app has been updated to the latest version. Incompatible versions can lead to connectivity errors.
Next, restart both the monitor and app. Closing and reopening the app can establish a fresh connection. If the problem continues, check firewall settings on your router. Some configurations may block app access to the monitoring system. Lastly, uninstalling and reinstalling the app can clear errors and reset settings.
Inaccurate Data Readings
Inaccurate Data Readings may disrupt your energy monitoring. Start troubleshooting by looking at the calibration of the monitoring system. Some devices require periodic calibration for precise measurement. Follow the manufacturer’s guidelines for the calibration process.
Also, check for issues with the solar panels. Dirt, debris, or shading can affect energy production and cause false readings. Regular cleaning and maintenance of the panels can ensure optimal performance.
Another consideration includes reviewing the settings within the app or software. Incorrect units of measurement or data settings can lead to confusion in readings. Adjust settings to reflect personal and local units appropriately. If discrepancies continue, consult the manufacturer’s technical support for potential software issues or hardware malfunctions.
Maintenance of Solar Monitoring Systems
Maintaining solar monitoring systems is crucial for sustained performance and reliability. Regular upkeep ensures that your system provides accurate data on energy production and consumption, promoting optimal energy management.
Regular Check-ups
Conducting regular check-ups is essential for maintaining solar monitoring systems. Schedule inspections every six months to assess the functionality of the monitoring equipment. Check the hardware for any signs of wear or damage. Inspect wiring and connections for corrosion or loose connections which can lead to inaccurate readings.
Verify that the monitoring display functions properly. Ensure the system transmits data consistently. Monitoring software should be checked for responsiveness and accuracy. These steps prevent minor issues from escalating into major problems.
In addition, observe the solar panels for dirt or debris. Clean the surface of the panels with water and a soft cloth to maintain efficiency. Accumulated dirt can reduce energy output, compromising system performance.
Record performance data during each check-up. This documentation helps identify trends and potential issues over time. Utilize trends to plan for preventative maintenance and future upgrades. Keep track of system output, energy savings, and any maintenance performed to improve overall management.
By incorporating regular check-ups into your maintenance routine, you can prolong the lifespan of your solar monitoring system and enhance its performance.
Firmware Updates
Updating firmware is critical to ensuring your solar monitoring system operates at peak performance. Regularly check for available firmware updates from the manufacturer. Most systems benefit from updates that enhance features or fix bugs.
Set a reminder to check for updates every three months to keep your system current. Updating firmware can improve connectivity and data accuracy, leading to a better monitoring experience. Follow the manufacturer’s instructions carefully when implementing these updates.
Before starting a firmware update, ensure your system is powered and has stable internet access. Avoid interruptions during the process, as these can cause complications.
After completing the update, test the system to confirm the monitoring software works as intended. Verify that historical data remains intact and still displays accurately. This step ensures no data loss occurs during the update process.
Incorporating firmware updates into your maintenance routine allows you to take advantage of improvements and fixes provided by the manufacturer, ensuring your solar monitoring system remains efficient and reliable.
Conclusion
Investing in a solar monitoring system is a smart move for anyone looking to maximize their solar energy benefits. With professional installation services you can ensure your system is set up correctly and tailored to your specific needs.
Regular maintenance and monitoring will keep your system running efficiently while providing valuable insights into your energy usage. By staying proactive with your solar monitoring system you’ll not only protect your investment but also enjoy greater savings and efficiency over time.
Take the next step towards optimizing your solar energy experience and consider the advantages of a reliable solar monitoring system today.
Frequently Asked Questions
What is a solar monitoring system?
A solar monitoring system tracks the performance of solar energy systems, providing real-time data on energy production and consumption. These tools help users identify issues and optimize system efficiency, leading to better savings and energy management.
Why are solar monitoring systems important?
Solar monitoring systems allow users to monitor energy usage in real-time, ensuring optimal performance. They help detect issues early, maintain energy supply, and enable informed decisions about energy habits, ultimately maximizing the benefits of solar energy installations.
How do I choose the right solar monitoring system?
When selecting a solar monitoring system, consider factors like system size, cost, installation environment, usability, and compatibility with home automation. Options include string inverters, microinverters, and professional monitoring services. Evaluate your specific needs to find the best fit.
What steps are involved in installing a solar monitoring system?
The installation process includes four main steps: installing the monitoring hardware, connecting it to the solar system, configuring software settings, and testing the system. Careful attention to detail is crucial for ensuring proper functionality and optimal performance.
How can I troubleshoot common issues with solar monitoring systems?
Common troubleshooting steps include checking power sources, inspecting cables, ensuring app connectivity, and recalibrating the system if data is inaccurate. Addressing these issues promptly helps maintain the effectiveness and reliability of your solar monitoring system.
How often should I maintain my solar monitoring system?
It’s recommended to conduct maintenance checks every six months to assess functionality, inspect wiring, and ensure the monitoring display works properly. Cleaning solar panels regularly and performing firmware updates every three months will also help sustain performance and reliability.
